Affordable, flexible housing that genuinely works for every member of your family is harder to find than it should be. When you decide to design an accessible family shed home, you are making a rational, long-term decision that most conventional builders are not equipped to help you execute. Shed-style homes built on engineered steel frames offer real structural certainty, but accessibility is where many families either get it right from the start or pay dearly to retrofit later. This guide covers the standards, planning steps, construction process, and compliance checks to help you build a home that will serve your family for decades.
Table of Contents
- Key takeaways
- Design requirements for accessible family shed homes
- Planning and preparation before you build
- Step-by-step construction process
- Verifying compliance and long-term usability
- My perspective on getting accessibility right
- Build your accessible shed home with Shed-homes
- FAQ
Key takeaways
| Point | Details |
|---|---|
| Start with accessibility standards | AS 1428.1 sets minimum doorway widths and ramp gradients that must be designed in from day one. |
| Budget realistically | Family shed homes kits typically range from $100,000 to $300,000, depending on scope and finishes. |
| Universal design benefits everyone | Wider doorways and level thresholds help toddlers, grandparents, and wheelchair users equally. |
| Verify compliance before lock-up | Self-assess circulation paths and hardware heights before walls are closed to avoid costly corrections. |
| Future-proofing reduces lifetime cost | Integrating accessibility early avoids expensive retrofits and expands long-term usability for the whole family. |
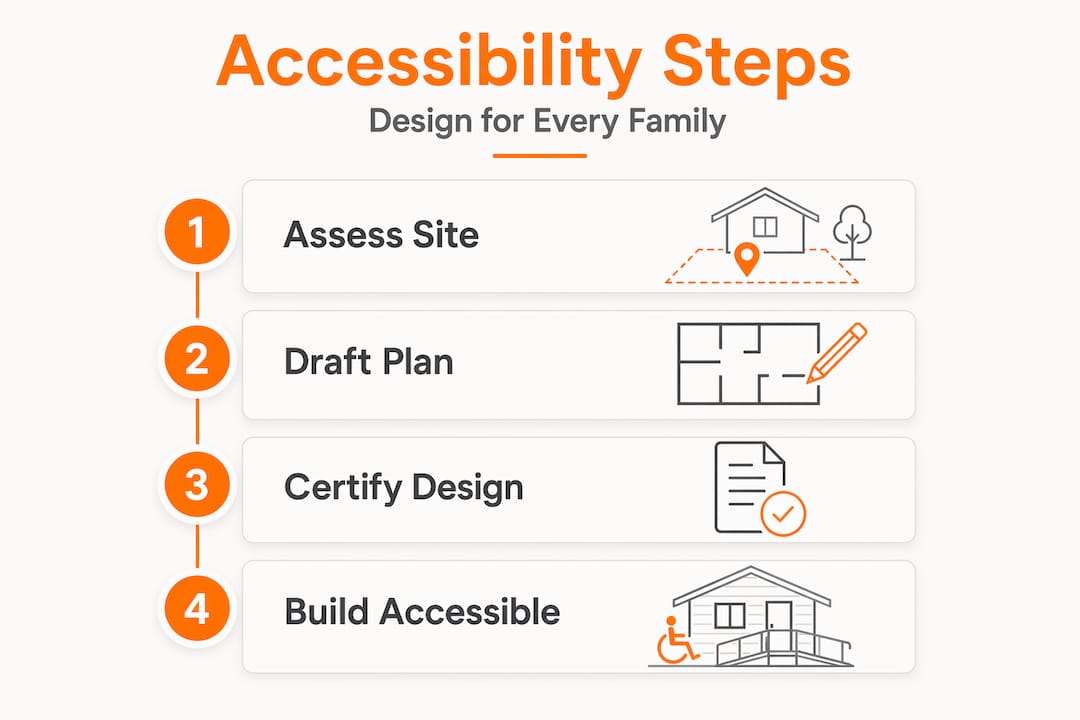
Design requirements for accessible family shed homes
Getting the accessible shed design right begins with understanding what Australian standards actually require, not what you assume they require. The governing document is AS 1428.1, and it sets out precise dimensions that your certifier will check before issuing any occupancy certificate.
Doorways and circulation spaces
Minimum doorway widths under the current 2026 standards are 850mm clear opening for general internal doorways and 1000mm for main entrances. Clear opening means the measurement taken with the door fully open, not the rough frame width. Most standard shed kits use 820mm doors, which fall short. Specify wider frames at the design stage, and the cost difference is negligible. Retrofit them after the steel frame is erected, and you are looking at structural modifications that cost real money.
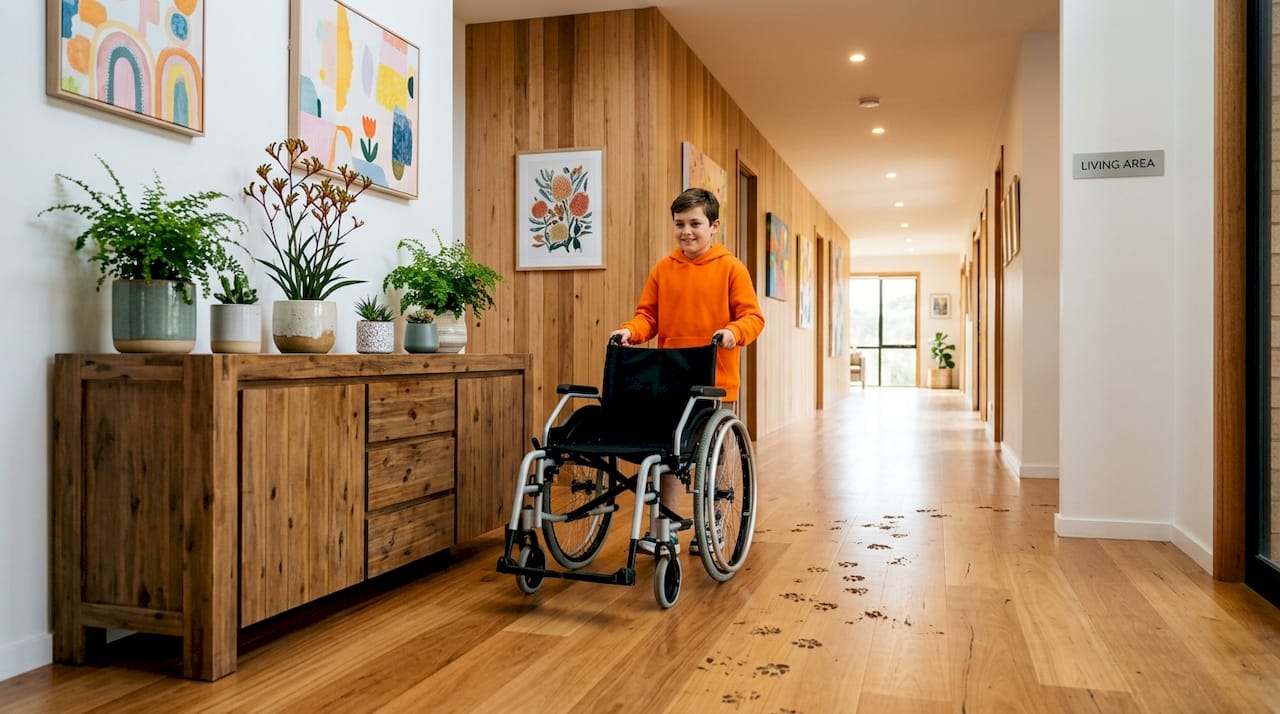
Circulation spaces inside the home must allow a 1500mm turning circle for a wheelchair or mobility aid. In practice, this means your hallways need to be at least 1200mm wide, and your wet areas need generous floor space. An open plan layout is your best ally here. The less corridor-heavy your floor plan, the easier it is to meet circulation requirements without sacrificing usable room size.
Ramp gradients and level thresholds
The maximum ramp gradient permitted under AS 1428.1 and AS 2890.1 is 1:14 for pedestrian access paths. A level landing of at least 1200mm is required at the top and bottom of every ramp, and if the ramp changes direction, that landing extends to 1500mm. This is separate from your vehicle driveway gradient, which can be steeper. The pedestrian path from your car park or street to your front door must comply with the 1:14 rule, regardless of how steep the rest of the site is.
Level thresholds at doorways are equally non-negotiable. A raised threshold of even 15mm creates a trip hazard for children and a barrier for wheelchair users. Specify flush thresholds in your architectural drawings and confirm with your builder before the slab is poured.
| Accessibility dimension | Minimum requirement | Standard |
|---|---|---|
| General doorway clear width | 850mm | AS 1428.1 |
| Main entrance clear width | 1000mm | AS 1428.1 |
| Corridor width | 1200mm | AS 1428.1 |
| Wheelchair turning circle | 1500mm diameter | AS 1428.1 |
| Maximum ramp gradient | 1:14 | AS 1428.1 / AS 2890.1 |
| Ramp landing length (straight) | 1200mm | AS 1428.1 |
| Door hardware mounting height | 900mm to 1100mm | AS 1428.1 |
Pro Tip: Ask your building certifier for a pre-lodgement meeting before you finalise drawings. Certifiers will flag accessibility issues at this stage for free, saving you amendment fees later.
Universal design principles treat accessibility not as a compliance burden but as a design quality that makes buildings safer, more adaptable, and more valuable for all users. Families who embrace this thinking from the outset build homes that accommodate toddlers in prams, ageing parents, and any future mobility changes without a single structural modification.
Planning and preparation before you build
A clear-eyed budget is the foundation of every successful shed home project. Families have shed structures into fully habitable homes for as little as $10,000 for basic conversions and up to $30,000 for off-grid setups with solar power and full plumbing. Australian builds will sit at different price points depending on your state’s labour costs and council requirements, but the principle holds: a steel frame kit home with DIY finishing is dramatically cheaper than a conventional build.
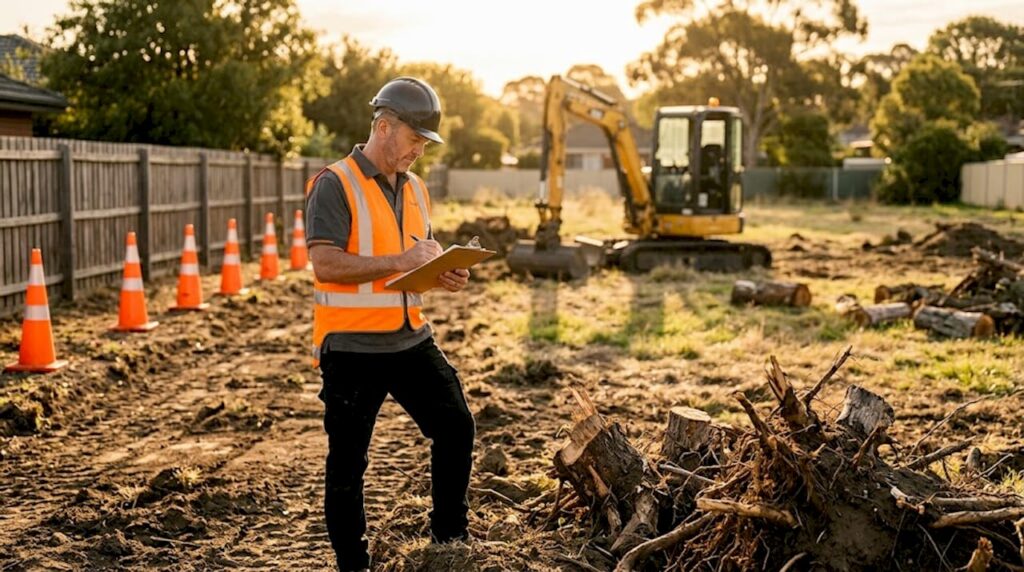
Site assessment
Before you commit to a design, walk your block with these questions in mind. What is the natural fall of the land between the street and where your front door will sit? A site with more than 700mm of fall over a 10 metre approach will require a ramp, and that ramp must comply with the 1:14 gradient rule. Can a concrete truck access the site for your slab pour? Is there room for a compliant turning area near the entry? These are not afterthoughts. They are site constraints that shape your entire floor plan.
Off-grid energy solutions like solar panels and battery storage are increasingly viable for shed homes on rural or semi-rural blocks where grid connection costs are prohibitive. Factor this into your site utility budget early.
What you will need: materials and professional support
| Item | Purpose | Estimated cost range |
|---|---|---|
| Steel frame kit | Primary structure | $40,000 to $300,000+ |
| Concrete slab | Foundation and accessible threshold base | $8,000 to $100,000 |
| Ramp materials (concrete or timber) | Compliant pedestrian access | $2,000 to $6,000 |
| Wide-format doors and hardware | AS 1428.1 compliance | $500 to $1,500 per door |
| Building certifier fees | Approval and compliance sign-off | $1,500 to $4,000 |
| Accessibility consultant (optional) | Design review and compliance advice | $500 to $2,000 |
Engaging a building certifier early is not optional if you are building a Class 1A dwelling. The difference between a Class 1A and Class 10A structure determines whether your shed is legally a home or a shed, and that distinction drives every accessibility requirement you face.
Pro Tip: Source your wide-format door frames from a commercial joinery supplier rather than a standard hardware store. Commercial suppliers stock 1000mm frames as a standard item and price them competitively. Hardware stores often treat them as a special order with a significant price premium.
Step-by-step construction process
With your design finalised and approvals in progress, construction follows a logical sequence. Rushing any phase creates compliance problems that are expensive to unwind.
Slab design and pour (weeks 1 to 3). Your engineer specifies the slab thickness and reinforcement. Confirm the flush threshold details with your concrete contractor before the pour. Once concrete is set, you cannot easily change threshold heights.
Steel frame erection (weeks 3 to 6). A Shed-homes kit can reach the lock-up stage in as little as three to six weeks. During erection, confirm that all door openings are framed to the correct clear widths per your drawings. Measure twice at this stage.
Ramp construction (weeks 4 to 7). Build your compliant ramp concurrently with the frame, where possible. Concrete ramps are durable and low-maintenance. Timber ramps are faster to build but require ongoing treatment. Either must achieve the 1:14 gradient with correct landings.
Rough-in services (weeks 5 to 8). Plumbing and electrical rough-in happen before internal lining. Position bathroom fixtures to allow the required 1500mm turning circle. Specify lever-style tapware and power points at accessible heights (between 400mm and 1100mm from floor level).
Internal lining and insulation (weeks 7 to 10). An open-plan family shed home benefits enormously from good insulation. Steel conducts heat and cold efficiently, so bulk insulation in walls and ceilings is not a luxury. It directly affects your NatHERS energy rating and your family’s comfort.
Door hardware and finishing (weeks 9 to 12). Door hardware must be operable with one hand and mounted between 900mm and 1100mm above the finished floor. Lever handles, not knobs. Magnetic door stops, not floor-mounted ones that create trip hazards.
Lighting and final fit-out (weeks 11 to 14). Prioritise natural light in your layout. Skylights and clerestory windows are cost-effective in shed structures and reduce reliance on artificial lighting. Motion-activated lighting in hallways and bathrooms adds safety without complexity.
Pro Tip: Install blocking in your bathroom walls during the lining phase, even if you do not need grab rails now. Blocking costs almost nothing at this stage. Retrofitting it later means cutting open finished walls.
Common pitfalls at this stage include under-specifying hallway widths on the initial drawings, forgetting to account for door swing in circulation space calculations, and using standard-height power points that fall outside the accessible range. Check your drawings against the AS 1428.1 table above before any work begins.
Verifying compliance and long-term usability
A building certifier will conduct a final inspection, but you should complete your own assessment before that visit. Walking through the home with a critical eye, or better yet, with a mobility aid, reveals issues that drawings never show.
Work through this checklist before your final inspection:
- Measure every doorway clear opening with the door fully open. Confirm 850mm minimum for internal doors, 1000mm for the main entrance.
- Walk the ramp with a loaded wheelbarrow or pram. If it feels steep, measure the gradient. A 1:14 gradient covers 140mm of rise over 1960mm of run.
- Test all door hardware with one hand only. If you need two hands or significant grip strength, replace the hardware before inspection.
- Confirm all light switches and power points fall within the 400mm to 1100mm height band.
- Check that the bathroom grab rail blocking is in place, even if the rails are not yet fitted.
- Verify that threshold transitions at all external doors are flush or within 5mm.
Accessible homes benefit not just people with disabilities but families with young children, elderly relatives, and anyone recovering from a temporary injury. This is not a compliance checkbox. It is a quality-of-life decision that pays dividends every single day.
Pro Tip: Photograph every compliance measurement during construction with a tape measure in frame. This documentation protects you if questions arise during the certifier’s inspection and is invaluable if you ever sell or rent the property.
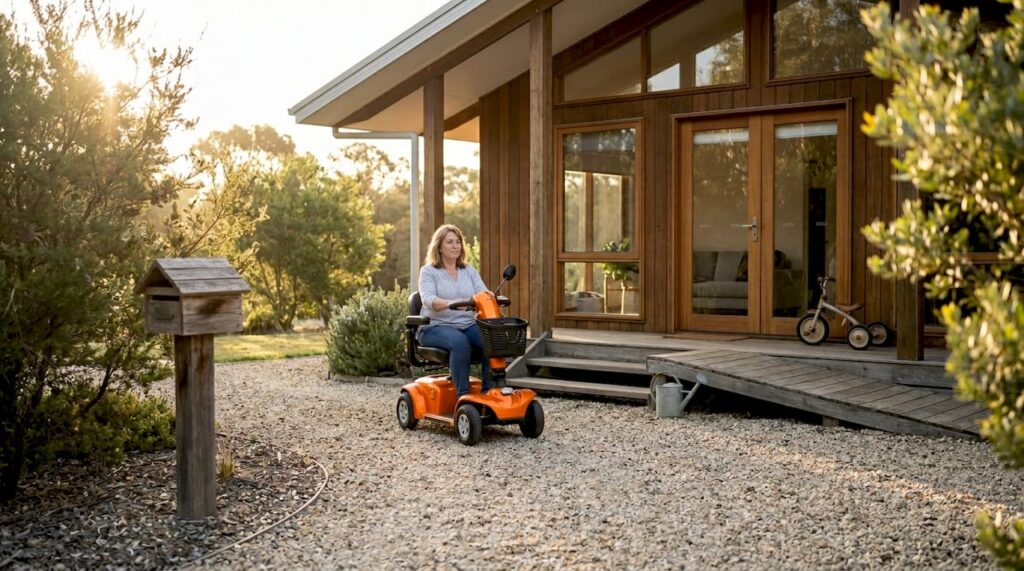
Maintaining accessibility over time means reviewing your home every few years as your family’s needs change. Grab rails can be added to pre-blocked walls in an afternoon. Ramp surfaces can be resurfaced if they become slippery. The ageing-in-place value of a well-designed shed home is substantial. Families who build right the first time rarely need to move when circumstances change.
My perspective on getting accessibility right
I have worked with enough families through the shed home design process to say this with confidence: the ones who treat accessibility as an afterthought always regret it. Not because they face compliance fines, though that happens too, but because they end up living in a home that quietly frustrates them every day.
The families who get it right share one habit. They make accessibility decisions at the drawing stage, not at the construction stage. Wider doorways cost almost nothing when specified on the initial drawings. They cost thousands when a steel frame has to be modified after erection. The same logic applies to threshold heights, ramp gradients, and bathroom layouts.
What I have also learned is that inclusive design creates homes that feel genuinely generous. A 1200mm hallway does not feel clinical. It feels spacious. A level threshold does not feel like a concession. It feels considered. The homes that families love living in, and that hold their value best, are almost always the ones where accessibility was treated as a design quality rather than a regulatory hurdle.
The broader argument for accessible design principles is simple: your family will change. Children grow up. Parents age. Circumstances shift. A home that accommodates all of those changes without structural intervention is not just a smart financial decision. It is a fortress of certainty in an uncertain world.
Brian – Builder
Build your accessible shed home with Shed-homes
Shed-homes offers Australian-made steel frame kits precision-engineered for families who want a home that is fast to build, structurally sound, and designed to accommodate accessibility requirements from day one. The steel frame kit range includes single-level designs like The Tweed and The Tasman, both well-suited to accessible family living with open-plan layouts that make compliance with circulation space requirements straightforward. Every kit comes with detailed architectural specifications and clear pricing, so you can approach council approvals with confidence rather than guesswork. Explore the build process and request a quote to see exactly what your accessible family shed home will cost before you commit to a single dollar.
FAQ
What doorway width is required for an accessible shed home?
General internal doorways require a minimum 850mm clear opening and main entrances require 1000mm clear opening under AS 1428.1. These measurements are taken with the door fully open.
How steep can a ramp be for a family shed home?
The maximum permitted gradient for a pedestrian access ramp is 1:14 under AS 1428.1, with a level landing of at least 1200mm required at the top and bottom of every ramp.
Does accessible design add high cost to a shed home build?
Integrating accessibility features at the design stage adds minimal cost. Retrofitting the same features after construction can cost thousands of dollars, making early planning the most financially sound approach.
What is the difference between a Class 1A and a Class 10A shed home?
A Class 1A structure is a legally habitable dwelling subject to full building code compliance, including accessibility requirements. A Class 10A structure is a non-habitable shed. If you are building a home, you need a Class 1A classification.
Can a shed home genuinely accommodate ageing-in-place needs?
Yes. A well-designed accessible shed home with wider doorways, level thresholds, compliant ramps, and pre-blocked bathroom walls can accommodate changing mobility needs throughout a family’s lifetime without structural modification.